5.4 Upgrading to OES 11 SP3
Use the following instructions to complete the upgrade applicable to the installation source you are using:
-
Section 5.4.1, For Servers with EVMS and LVM on the System Device
-
Section 5.4.2, To Upgrade Using a Network Installation Source with DHCP (Offline)
-
Section 5.4.3, Upgrading Using a Network Installation Source without DHCP (Offline)
-
Section 5.4.7, Specifying the Add-On Product Installation Information
-
Section 5.4.8, Verifying and Customizing the Update Options in Installation Settings
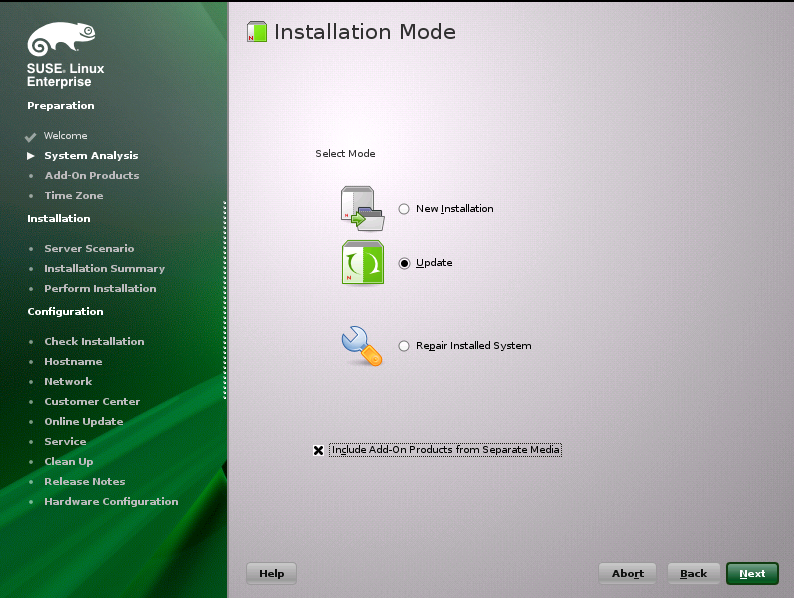
5.4.5 Selecting the Installation Mode Options
-
When the Installation Mode page displays, select the following menu options:
-
-
IMPORTANT:To upgrade previously installed OES services and install any additional OES services, you must select the option. If you don’t, only SLES is updated (if necessary). None of the OES services are upgraded.
-
-
Click .
-
Continue with Specifying the Partition to Update or Specifying the Add-On Product Installation Information, depending on which matches your installation.
5.4.6 Specifying the Partition to Update
YaST tries to determine the correct root (/) partition. If there are several possibilities, or if YaST can’t definitely determine the correct root partition, the Select for Update page displays.
-
If there is only one partition listed, click .
-
If there are several partitions, select the partition with /lvm in the path.
-
Click .
YaST reads the old fstab on this partition to analyze and mount the file systems listed there.
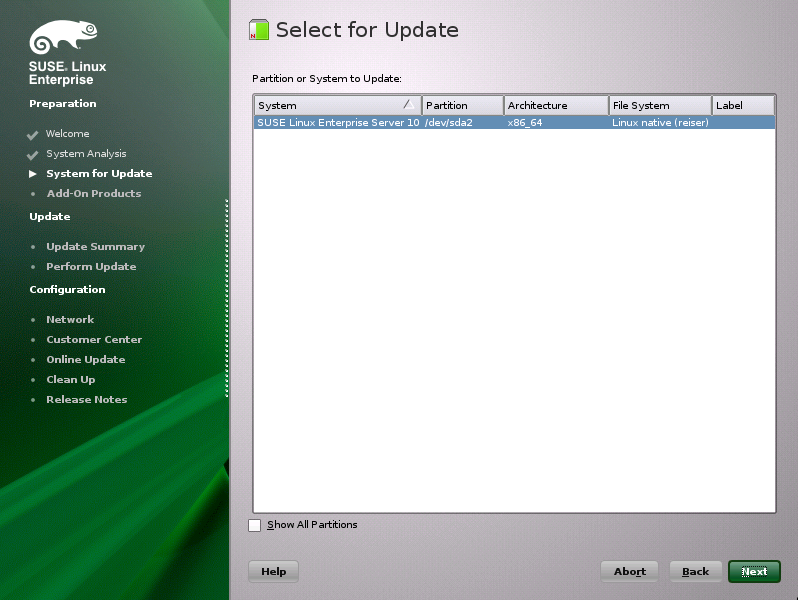
Next, YaST tries to mount the boot (/boot) partition.
-
If no error displays, skip to Specifying the Add-On Product Installation Information.

-
If this error displays, click .
The Mount Options dialog box appears.

-
Click .
-
Continue with Specifying the Add-On Product Installation Information.
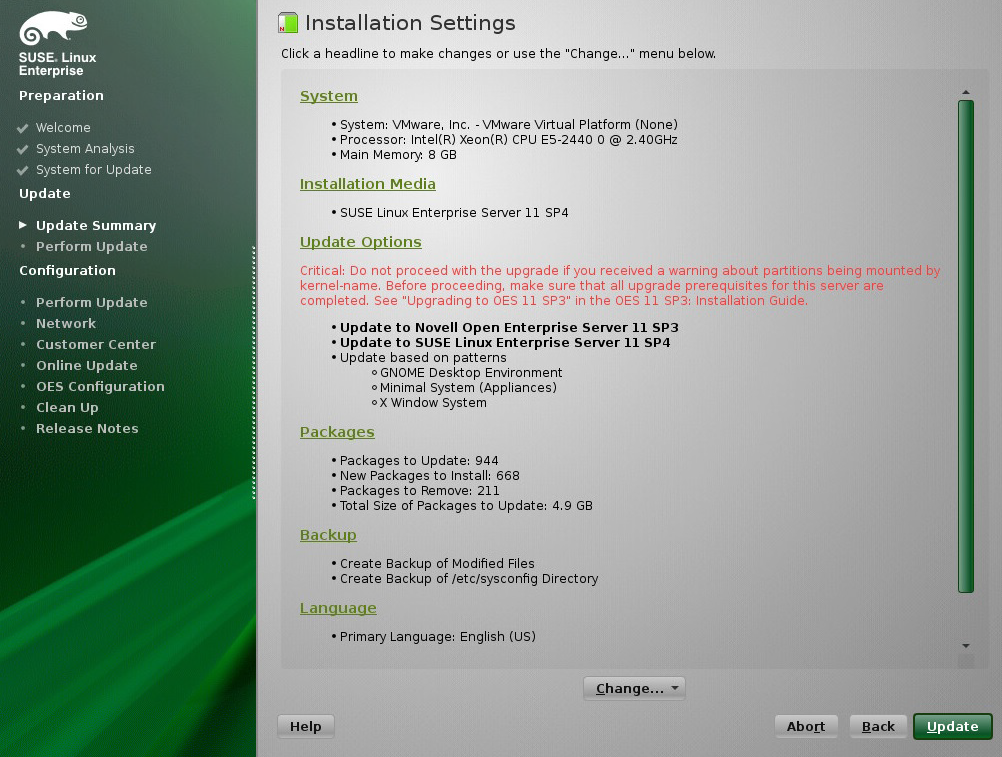
5.4.8 Verifying and Customizing the Update Options in Installation Settings
IMPORTANT:To verify that previously installed services are selected for installation and to install any additional OES services during the upgrade, you must customize the Update Options on the Installation Settings page.
To verify or customize the software packages that are installed on the server:
-
On the Installation Settings page, ensure Novell Open Enterprise Server 11 SP3 is listed under the link. If it is, proceed with Step 3.
-
If Novell Open Enterprise Server is not listed, click the link and follow the steps in Specifying the Add-On Product Installation Information. When the Installation Settings page shows Novell Open Enterprise Server 11 SP3 as an installation setting, proceed with Step 3.
-
If you see package conflict errors (red text under the link), refer to the OES 11 SP3: Readme for resolution instructions.
-
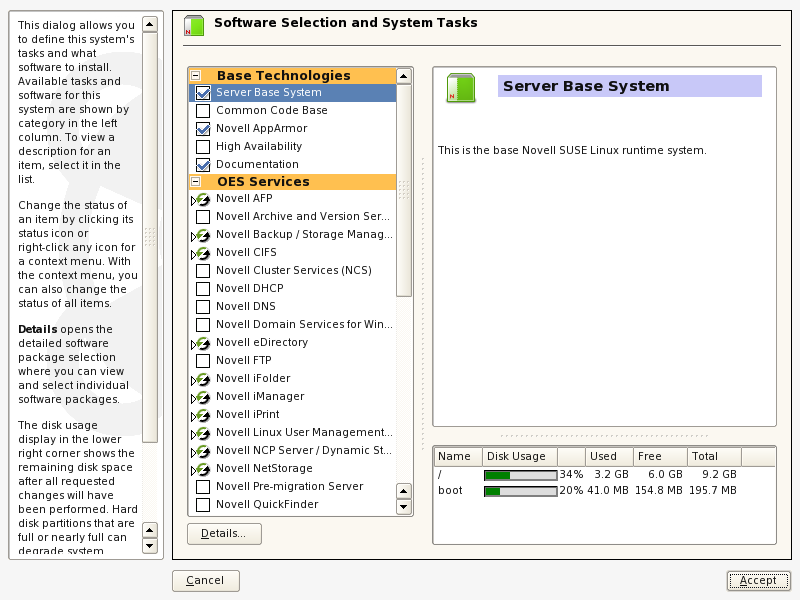
On the Installation Settings page, click .
-
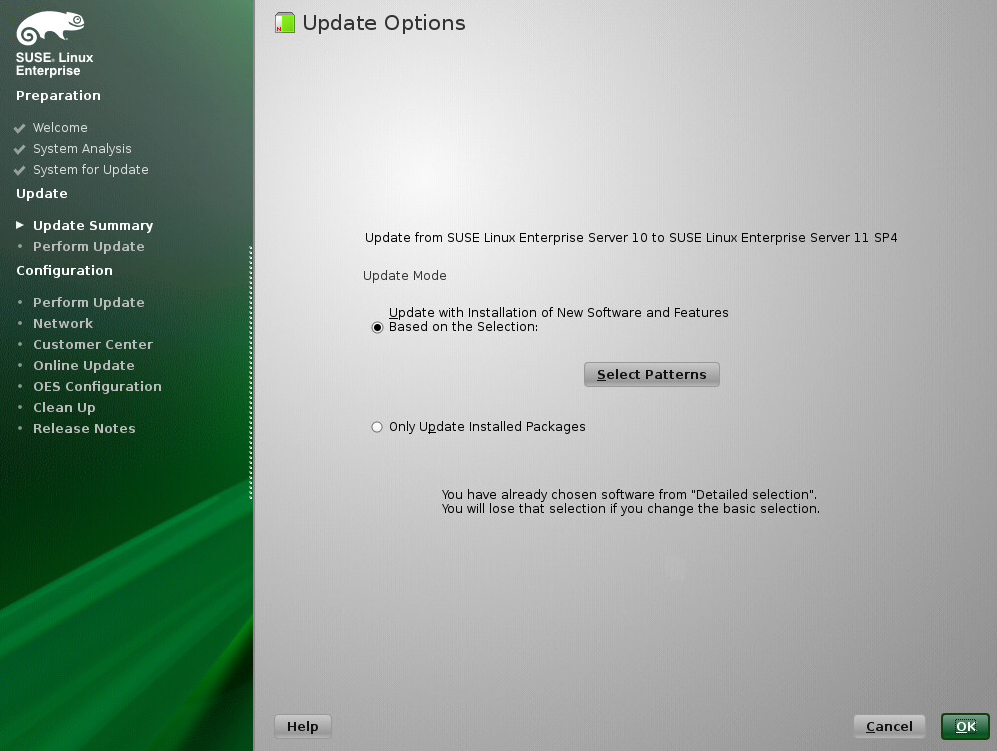
In the Update Options page, click >
-
All of the OES Services patterns that were previously installed are selected by default.
Ensure that the patterns for the services you are upgrading are selected, then select the patterns for any new OES Services patterns that you might want to also install.
A description displays to the right of a pattern when the pattern is selected. For a description of OES Services patterns and the components selected with each pattern, see Table 2-5.
Some OES services, such as Novell CIFS and Novell Samba, are not supported together on the same server. For more information, see
Unsupported Service Combinations
in the OES 11 SP3: Planning and Implementation Guide.IMPORTANT:If you deselect a pattern after selecting it, you are instructing the installation program to not install that pattern and all of its dependent patterns. Rather than deselecting a pattern, click to cancel your software selections, then click the heading again to choose your selections again.
Selecting only the patterns that you want to install ensures that the patterns and their dependent patterns and packages are installed.
If you click and then return to software pattern selection page, the selections that you made become your base selections and must be deselected if you want to remove them from the installation proposal.
Attempting to uninstall a service by deselecting its pattern is not recommended. For more information, see Section 13.0, Disabling OES 11 Services.
Selecting a pattern automatically selects the other patterns that it depends on to complete the installation.
-
If you want to see the details of your selections, click .
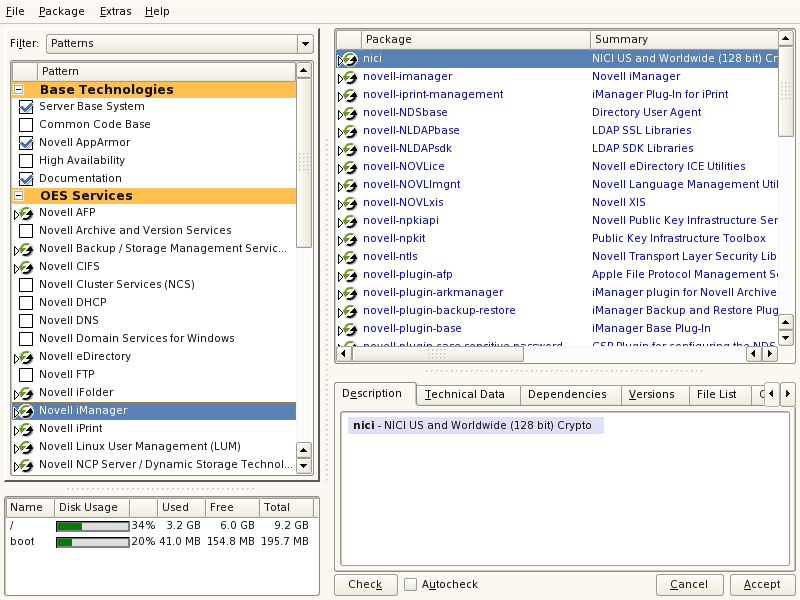
NOTE:The RPMs listed here are not selected automatically during an upgrade to OES 11 SP3. They must be manually selected under the following upgrade scenarios:
-
When upgrading to OES 11 SP3 from OES 2 SP3 or OES 11, ensure that you select the novell-ndsgrepair RPM under the eDirectory pattern. This RPM was added to OES beginning with OES 11 SP1.
-
When upgrading to OES 11 SP3 from any of the earlier releases, ensure that you select the following RPMs under the eDirectory pattern: novell-edirectory-log4cxx, novell-edirectory-xdaslog, novell-edirectory-xdaslog-conf, and novell-edirectory-xdasinstrument. Under the iManager pattern, select novell-plugin-instrumentation RPM. These RPMs were added to OES beginning with OES 11 SP3. The novell-plugin-instrumentation RPM is required only on servers that have iManager installed. If you attempt to install this RPM with zypper in novell-plugin-instrumentation on a server that does not have iManager installed, zypper will install iManager automatically due to the dependencies. This will result in iManager getting installed on all server.
-
-
When you have the software components selected that you want to install, click .
-
When the notification about deleting unmaintained packages appears, click .
-
(Conditional) If the prompt for the AGFA Fonts license displays, read the agreement, then click .
-
(Conditional) If the prompt for displays, click .
-
(Conditional) If you are prompted, resolve any dependency conflicts.
-
If the Update Options page displays again, click .
-
Continue with Accepting the Installation Settings.
5.4.9 Accepting the Installation Settings
-
Review the final Installation Settings page to ensure that you have all the Installation settings you desire. Ensure that the page shows all the OES Services that you want to update and install.
-
After you have changed all the installation settings as desired, click .
-
In the Confirm Update dialog box, click .
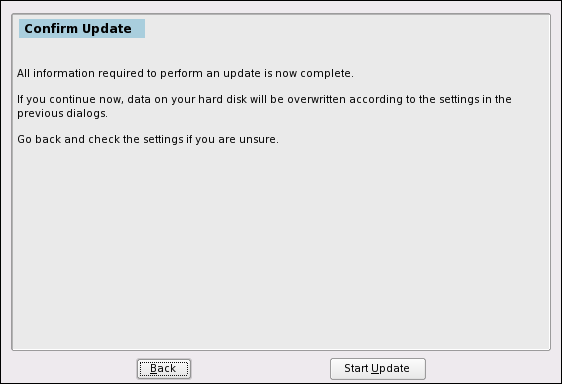
The base installation settings are applied and the packages are installed.
-
While the server is updating the files, do one of the following:
-
For installations using a network installation source, remove the boot DVD (SUSE Linux Enterprise Server 11 SP4 DVD1) from the DVD drive.
-
For installations using a DVD installation source, leave the DVD in the DVD drive. When the installation process prompts you for each DVD at the appropriate time, insert the DVD. The progress status at the bottom of the screen indicates which DVD will be prompted for next.
-
-
After the server reboots, continue with Specifying Configuration Information.
HINT:If you have the disk driver situation mentioned in Step 7, your server boots to a prompt for the root password. Specify the password, and then use an editor such as VI to modify the /etc/fstab file so that the path to the boot partition uses sda instead of hda. Then reboot the server. The upgrade should continue normally.
5.4.10 Specifying Configuration Information
When the server reboots, you are required to complete the following configuration information:
Testing the Connection to the Internet
On the Test Internet Connection page:
-
Select , , then click .
-
Obtaining the latest SUSE release notes might fail at this point. If it does, view the log to verify that the network configuration is correct, then click .
-
If the network configuration is not correct, click > and fix your network configuration. See Network Interface. The most common problem is that an invalid DNS server is specified.
or
Skip this test by clicking , then continue with Step 4.
IMPORTANT:Most OES services configurations require a connection to the Internet.
Skipping this test also skips downloading release notes, configuring the Novell Customer Center, and updating online.
-
If you skipped the customer center test, continue with Upgrading eDirectory. Otherwise, continue with Specifying Novell Customer Center Configuration Settings.
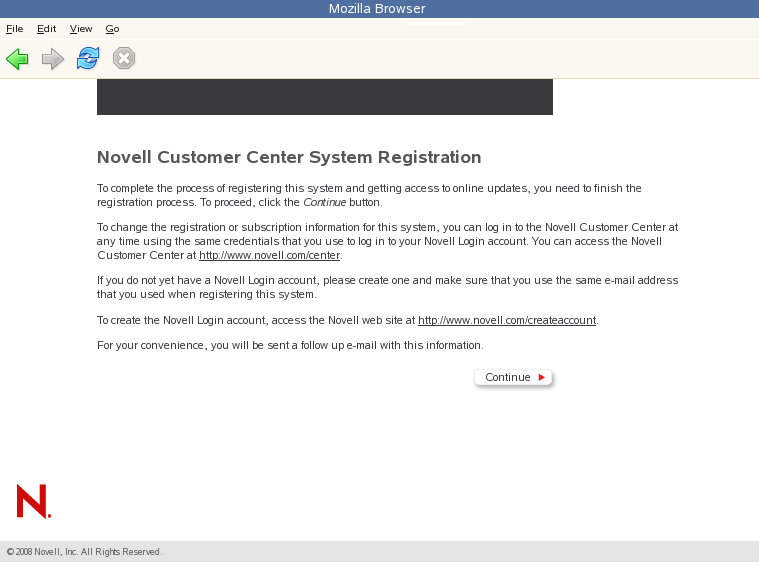
Specifying Novell Customer Center Configuration Settings
To receive support and updates for your OES 11 SP3 server, you need to register it in the Novell Customer Center. When the Novell Customer Center Configuration page is displayed, you have three options:
Updating a Registered Server (Recommended)
-
If you have already registered your OES 11 SP3 server and you want to download the available patches, leave selected, then click Next.
YaST contacts the server (which might take a few minutes) and then downloads the available patches.
-
Go to Step 8.
Registering the Server Later / Skipping a Registered Server Update
-
Click .
-
Continue with Upgrading eDirectory.
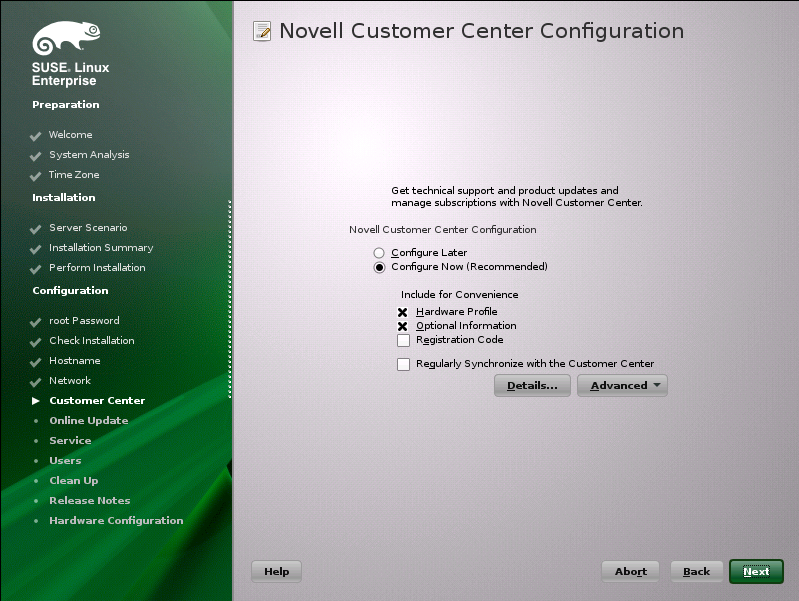
Registering the Server During the Upgrade
-
On the Novell Customer Center Configuration page, select all of the following options, then click .
Option
What it Does
Proceeds with registering this server and the SLES 11 SP4 and OES product in the Novell Customer Center.
Sends information to the Novell Customer Center about the hardware that you are installing SLES 11 SP4 and OES 11 SP3 on.
Sends optional information to the Novell Customer Center for your registration. For this release, this option doesn’t send any additional information.
Makes the registration with activation codes mandatory.
Keeps the installation sources for this server valid. It does not remove any installation sources that were manually added.
-
After you click , the following message is displayed. Wait until this message disappears and the Manual Interaction Required page displays.

-
On the Manual Interaction Required page, note the information that you will be required to specify, then click .
-
On the Novell Customer Center Registration page, specify the required information in the following fields:
-
Email Address: The email address for your Novell Login account.
-
Confirm Email Address: The same email address for your Novell Login account
-
Activation Code for SLES Components (optional): Specify your purchased or 60-day evaluation registration code for the SLES 11 SP4 product.
If you don’t specify a code, the server cannot receive any updates or patches.
-
Activation Code for OES Components (optional): Specify your purchased or 60-day evaluation registration code for the OES 11 SP3 product.
If you don’t specify a code, the server cannot receive any updates or patches.
-
System Name or Description (optional): The hostname for the system is specified by default.
If you want to change this to a description, for the Novell Customer Center, specify a description to identify this server.
-
-
Click .
-
When the message to complete the registration displays, click .
-
After you click , the following message is displayed with the Manual Interaction Required page. Wait until this message disappears and the Novell Customer Center Configuration page displays with the message: Your configuration was successful.
-
When you see the message Your configuration was successful on the Novell Customer Center Configuration, click .
-
Continue with Updating the Server Software.
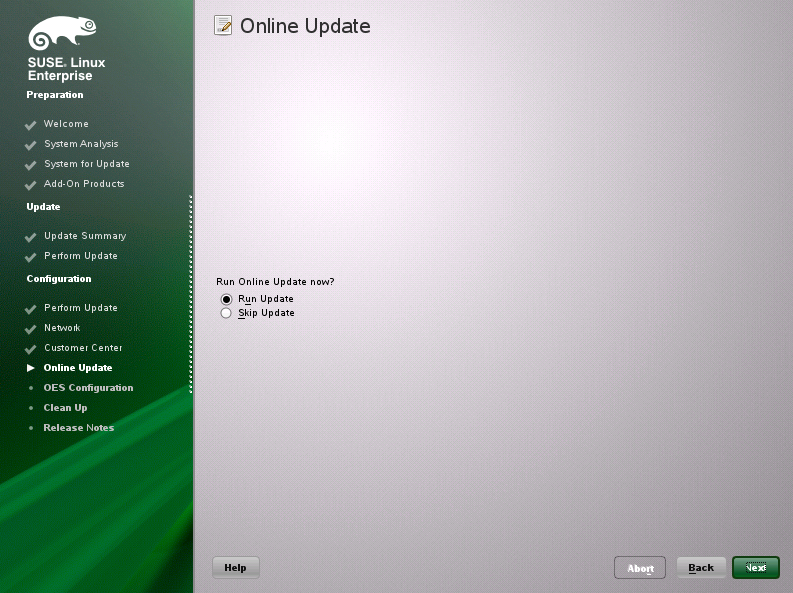
Updating the Server Software During the Upgrade
If you have a successful connection to the Internet and have registered the server in the Novell Customer Center, the server displays the Online Update page. You can run the online update now or skip it and get updates later.
To skip getting updates during the upgrade:
-
On the Online Update page, click .
-
Continue with Upgrading eDirectory.
To get updates during the upgrade:
-
On the Online Update page, click .
-
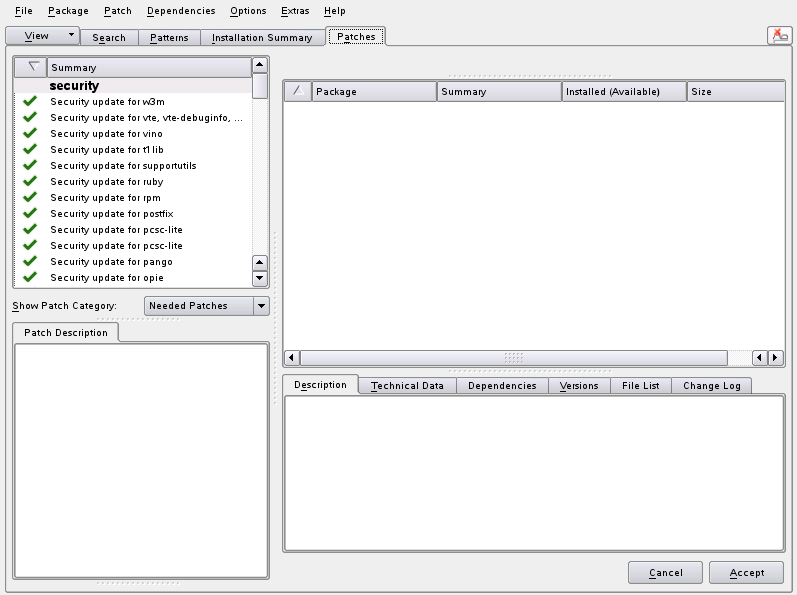
On the page that shows that updates are available, select the updates that you want to install, then click .
The check marks that are shown in the summary column of the patches list are the patches that have already been installed on your system.
-
When you see the message, Installation finished on the Patch Download and Installation page, click .

-
If the update makes changes to YaST, the following message displays. If so, click to restart YaST.
-
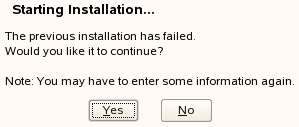
If the installation was interrupted, the following message might display. If so, click to continue with the installation, then enter the root password.
The online update displays again with additional updates. If a patch has changes to the kernel, you might want to deselect it and install it later after the installation is complete.
-
If you do install patches that have changes to the kernel, click .
-
After all the patches are installed, continue with Upgrading eDirectory.
Upgrading eDirectory
OES 11 SP3 includes eDirectory 8.8.8.
-
When the following dialog box appears, click .
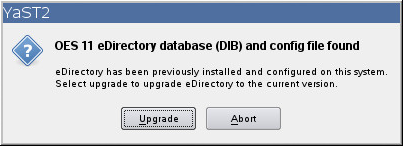
NOTE:If you are upgrading from OES 2 SP3, this dialog will show that the OES 2.0 eDirectory database (DIB) and config file were found.
-
On the eDirectory Upgrade - Existing Server Information page, type the Admin password.
-
Click .
-
On the NetIQ Modular Authentication Service page, click .
-
Continue with Specifying LDAP Configuration Settings.
Specifying LDAP Configuration Settings
Many of the OES services require eDirectory. If eDirectory was not selected as a product to upgrade or install but other OES services that do require LDAP services were installed, the LDAP Configuration service displays so that you can complete the required information.
-
In the field, specify the name for the existing eDirectory tree that you are installing this server into.
-
In the field, specify the name and context for user Admin on the existing tree.
-
In the field, specify a password for user Admin on the existing tree.
-
Add the LDAP servers that you want the services on this server to use. The servers that you add should hold the master or a read/write replica of eDirectory. Do the following for each server you want to add:
-
When all the LDAP servers that you want to specify are listed, click .
-
Continue with Configuring Novell Open Enterprise Server Services.

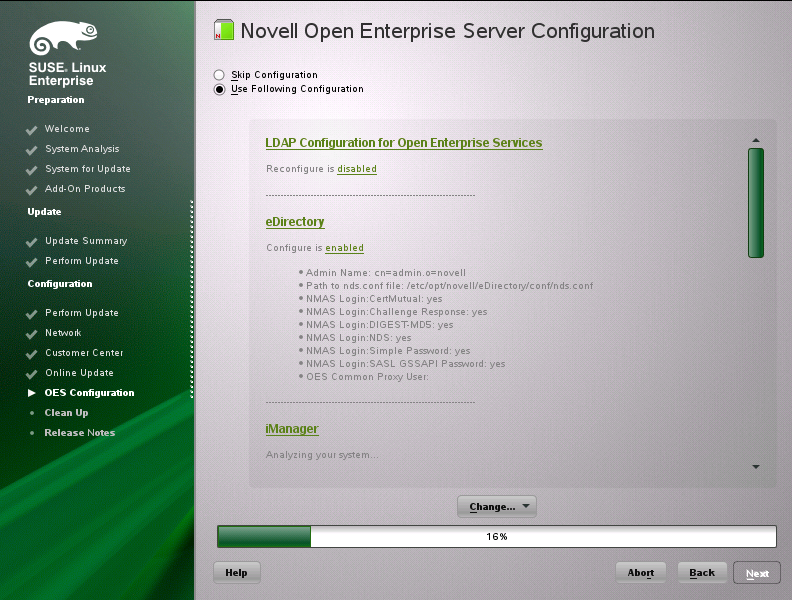
Configuring Novell Open Enterprise Server Services
After you complete the LDAP configuration or eDirectory configuration, the summary page is displayed, showing all the OES components you updated and installed and their configuration settings.
-
Review the setting for each component and click the component heading to change any settings.
When you specify the configuration information for OES services, see the information in Configuration Guidelines for OES Services, or click a link below:
-
When you are satisfied with the settings for each component, click .
-
When you confirm the OES component configurations, you might receive the following error:
The proposal contains an error that must be resolved before continuing.
If this error is displayed, check the summary list of configured products for any messages immediately below each product heading. These messages indicate products or services that need to be configured. If you are running the YaST graphical interface, the messages are red text. If you are using the YaST text-based interface, they are not red.
For example, if you selected Linux User Management in connection with other OES products or services, you might see a message similar to the following:
Linux User Management needs to be configured before you can continue or disable the configuration.
If you see a message like this, do the following:
-
On the summary page, click the heading for the component.
-
Supply the missing information in each configuration page.
When you specify the configuration information for OES services during the upgrade, see the information in Configuration Guidelines for OES Services.
When you have finished the configuration of that component, you are returned to the Novell Open Enterprise Server Configuration summary page.
-
If you want to skip the configuration of a specific component and configure it later, click d in the status to change the status to .
If you change the status to , you must configure the OES components after the installation is complete. See Installing or Configuring OES 11 SP3 on an Existing Server.
-
-
After resolving all product configuration problems, click to proceed with the configuration of all services and installation of iManager plug-ins.
-
When the Readme page displays, click and continue with Section 5.5, Finishing the Upgrade.