3.2 Setting Up Users’ Personal Workspaces
3.2.1 Understanding Personal Workspaces
When you create your OpenText Vibe site, a workspace named Personal Workspaces is automatically created.
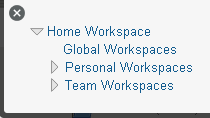
Initially, clicking the icon ![]() and expanding lists only two personal workspaces, even after you have created Vibe users, as described in
and expanding lists only two personal workspaces, even after you have created Vibe users, as described in Adding Users to Your Vibe Site
in Single-server (Basic) Installation
in the OpenText Vibe 4.0.8 Installation Guide.
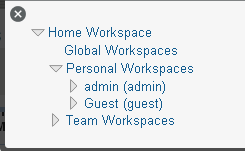
Users’ workspaces appear in the Workspace tree after the users log in for the first time. To see a list of all users in the Vibe system regardless of whether they have logged in, click .
You can manually add Vibe users from this user list, as described in Listing Vibe Users.
You can also create new Vibe users by using the method described in Creating a User
in Single-server (Basic) Installation
in the OpenText Vibe 4.0.8 Installation Guide.
As the Vibe administrator, you can access any user’s personal workspace by clicking it in the user list.
You cannot access a user’s personal workspace until the user has logged in to the Vibe site one time.
After the user has logged in, the user’s personal workspace is ready for the user to personalize.
For information on how users can customize and populate their personal workspaces, see Setting Up Your Personal Workspace
in the OpenText Vibe 4.0.8 User Guide.
3.2.2 Customizing the Default Personal Workspace View
As a Vibe administrator, you have the ability to customize the default view for all personal workspaces in your Vibe site.
Customizing the Default View for Existing and Future Personal Workspaces
-
Click your linked name in the upper right corner of the page, then click the icon
 .
.The Administration page is displayed.
-
Under , click .
-
Expand , then click .
-
Add the form and view elements that you want your existing and future personal workspaces to contain by default.
For information on the kinds of elements that you can add and how to add them, see
Adding Elements to the Workspace Add/Modify Form
in the OpenText Vibe 4.0.8 Advanced User Guide.
Customizing the Default View for Future Personal Workspaces
The procedure in this section affects only future personal workspaces (workspaces that have not yet been created). For information on how to change the default view for existing workspaces as well as future workspaces, see Customizing the Default View for Existing and Future Personal Workspaces.
-
Log in as the Vibe administrator.
-
Click your linked name in the upper right corner of the page, then click the icon
.The Administration page is displayed.
-
Under , click .
-
Click .
-
Modify the settings.
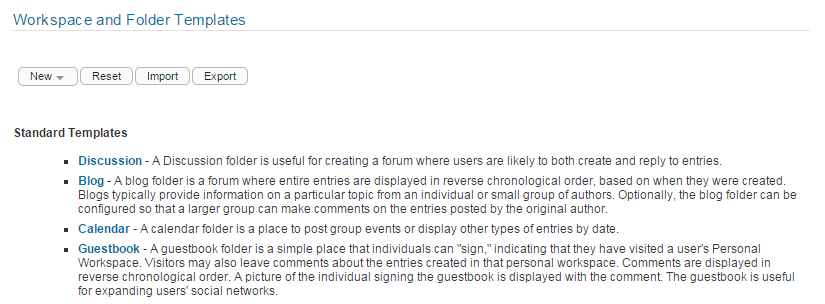
For information on the types of modifications that you can make to the User Workspace template, see Modifying Workspace and Folder Templates.
3.2.3 Enabling Users to Create Landing Pages on Personal Workspaces
By default, Vibe users cannot create a landing page on their personal workspaces. However, as a Vibe administrator, you can enable landing page creation on personal workspaces.
-
Log in as the Vibe administrator.
-
Click your linked name in the upper right corner of the page, then click the icon
.The Administration page is displayed.
-
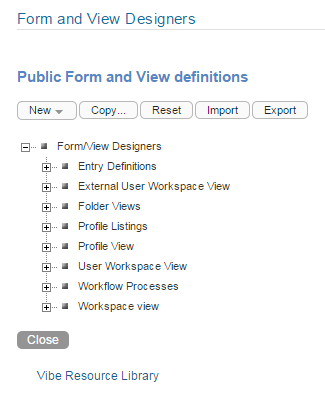
Under , click .
The Form and View Designers page is displayed.
-
Click > .
-
Specify the following information:
Caption: Specify a name for the new user workspace landing page view.
This is the name that appears in the Vibe interface that users see when they use this view. (For example, User Landing Page.)
Name: Specify the internal name for the new user workspace landing page view.
The name that you enter in this field is not visible to users who use this view. (For example, user_landing_page.)
Family: Ensure is selected in the drop-down list.
-
Click .
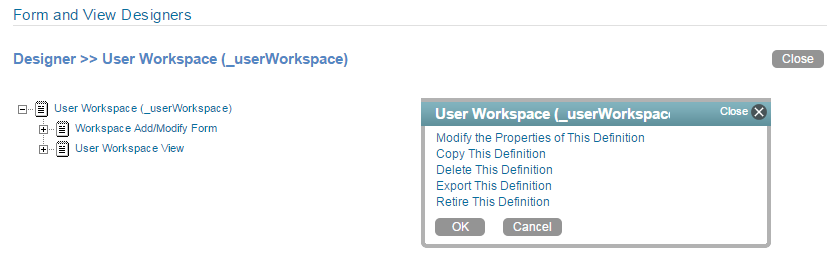
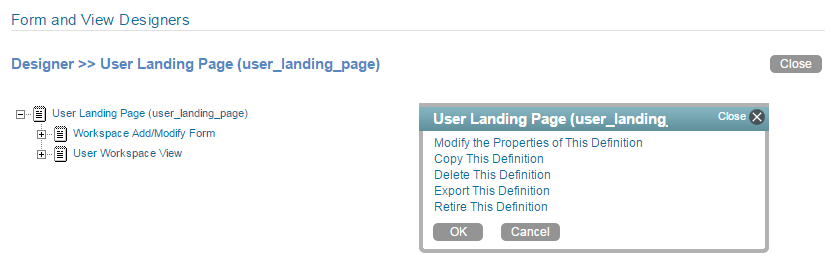
The Designer page is displayed.
-
Click .
-
Click in the Workspace Add/Modify Form window.
-
Click > .
-
Specify the appropriate information, then click .
-
Click .
-
Click in the User Workspace View window.
-
Click > .
-
Specify the appropriate information, then click .
Vibe users can now enable this landing page on their personal workspaces, as described in
Creating a Landing Page On Your Personal Workspace
in the OpenText Vibe 4.0.8 Advanced User Guide.
For information on how to add other elements and layout options to this user workspace landing page view, see Creating Custom Folder Views
in the OpenText Vibe 4.0.8 Advanced User Guide.
3.2.4 Customizing the Default User Profile View
The default user profile view is the view that appears in a user’s profile in the personal workspace. When you customize the default user profile view, you modify the information that is displayed in all user profiles.
The default user profile view was expanded in Vibe 3 to rival other professional knowledgebases such as LinkedIn. Users can include more information to share with their colleagues, such as education, qualifications, and competencies.
If you are updating your Vibe site from a version prior to Vibe 3 to Vibe 3 or later and you modified the user profile definition in your previous Vibe version, you do not see the new user profile when you upgrade to Vibe 3 or later. In order to see the new user profile, you need to reset your profile user definition. For information about how to reset your definitions, see Resetting Your Definitions
in Upgrade
in the OpenText Vibe 4.0.8 Installation Guide.
You can customize the default user profile view to include custom fields. If you want to customize the user profile view, then you must also customize the user profile form. The view is what users see when they view a user profile; the form is what users fill out when they edit their user profiles. You must design both the form and view of the user profile in order for the elements to be displayed in the user profile view.
Designing the User Profile Form
The user profile form is what a users see when they edit their user profile in Vibe. For example:
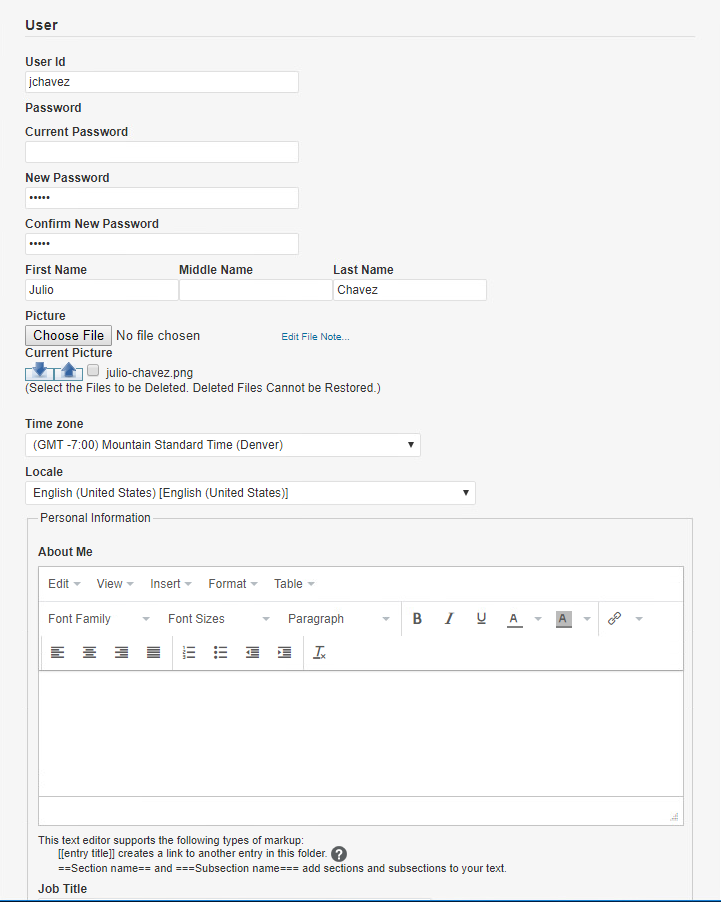
To modify the information that is displayed in the user profile form that users fill out when they edit a user profile:
-
Log in as the Vibe administrator.
-
Click your linked name in the upper right corner of the page, then click the icon
.The Administration page is displayed.
-
Under , click .
-
Expand , then click .
-
Expand , then click .
-
Click .
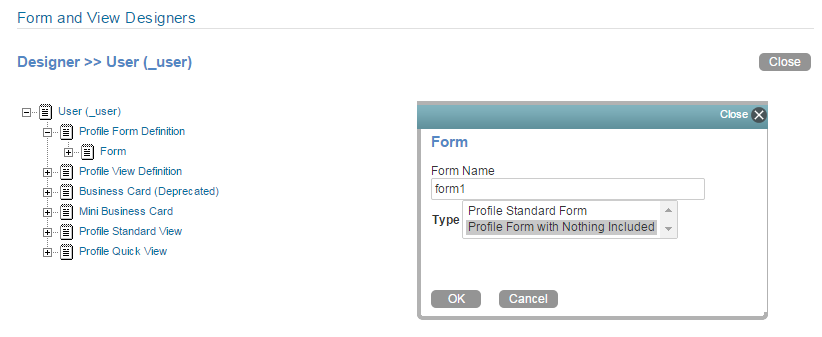
-
In the field, provide a name for the form.
-
In the field, select .
This lets you add elements anywhere inside the view. If you do not select this option, you can add elements only after the last element in the default view.
-
Click .
-
Expand , then click .
-
Depending on how you want to modify the profile form, continue with one of the following sections:
Adding Elements to the Form
-
Expand , then click .
-
In the Form dialog box, click to add an element or layout option to the view.
You can add any of the elements and layout options that are described in
Workspace Form Elements
andUnderstanding Layout Options
in the OpenText Vibe 4.0.8 Advanced User Guide. -
Continue with Designing the User Profile View to create the user profile view that users will see when they view a user profile.
Modifying Elements within the Form
-
Expand , then expand .
-
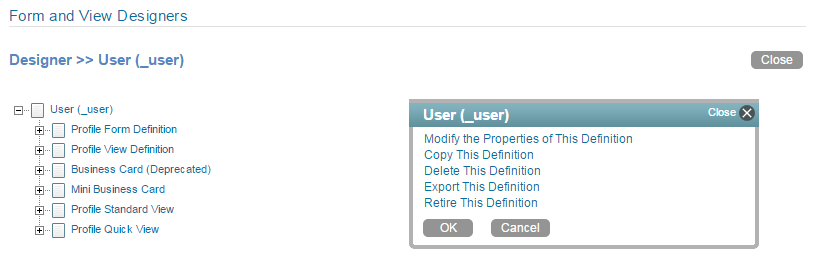
Click the element that you want to modify.
Depending on the element that you click, you can copy, delete, modify, or move the element. You can also add sub-elements.
-
In the dialog box on the right side of the page, click the action that you want to perform, then follow the on-screen instructions.
-
Continue with Designing the User Profile View to create the user profile view that users will see when they view a user profile.
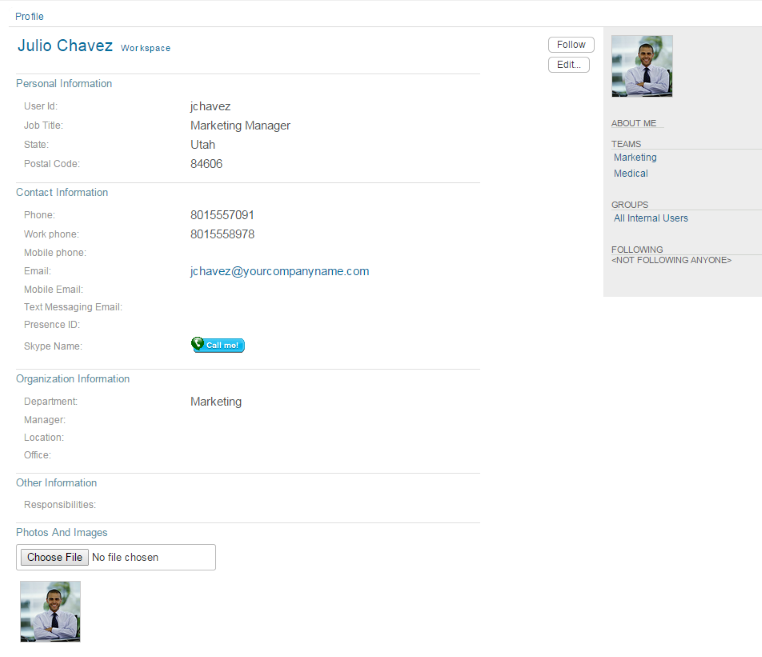
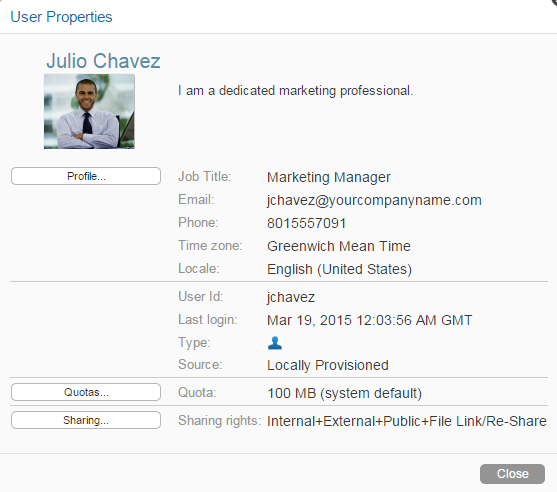
Designing the User Profile View
After you have designed the user profile form, as described inDesigning the User Profile Form, you can modify the user profile view. The user profile view is what a user sees when the user views a user profile in Vibe. For example:
To modify the information that is displayed in the user profile view that users see when they view a user profile:
-
Log in as the Vibe administrator.
-
Click your linked name in the upper right corner of the page, then click the icon
.The Administration page is displayed.
-
Under , click .
-
Expand , then click .
The User Designer page is displayed.
-
Expand to view a list of all the elements and layout options that currently exist in the view.
-
Depending on how you want to modify the profile view, continue with one of the following sections:
Adding Elements to the View
-
Click .
-
In the Profile Standard View dialog box, click to add an element or layout option to the view.
You can add any of the elements and layout options that are described in
Workspace View Elements
andUnderstanding Layout Options
in the OpenText Vibe 4.0.8 Advanced User Guide.
Modifying Elements within the View
-
Click the element that you want to modify.
You can copy, delete, modify, or move the element. You can also add sub-elements.
-
In the dialog box on the right side of the page, click the action that you want to perform, then follow the on-screen instructions.
3.2.6 Customizing the Default Profile Quick View
The Profile Quick View is displayed when you click a user’s icon ![]() in Vibe.
in Vibe.
Presence is displayed in the following locations in Vibe:
-
In a folder entry next to a user’s name
-
In a user’s profile
-
In the home page of a user’s personal workspace
To modify the information that is displayed in the Profile Quick View:
-
Log in as the Vibe administrator.
-
Click your linked name in the upper right corner of the page, then click the icon
.The Administration page is displayed.
-
Under , click .
-
Expand , then click .
The User Designer page is displayed.
-
Expand , expand , then click .
-
In the Quick View Elements window, click .
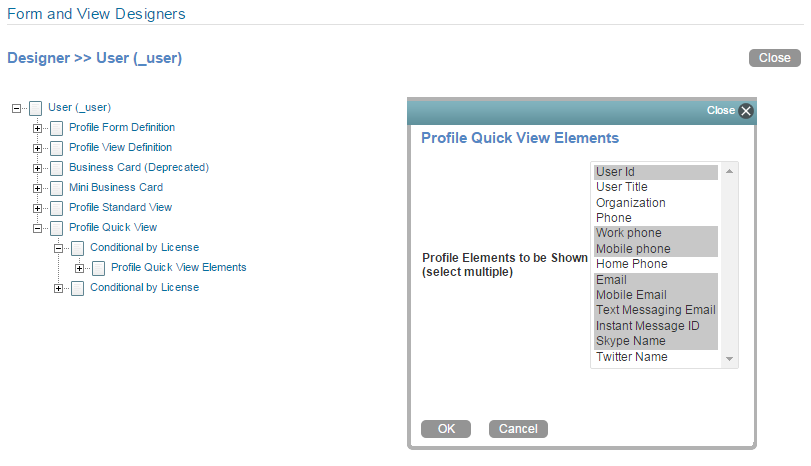
-
Press and hold the Ctrl key to select and deselect elements that you want to include in the Profile Quick View or exclude from the Profile Quick View.
If the element you want to add is not available in the list, click , then in the Quick View Elements window, click . Select the element from the list, then click .
-
Click .