SilverStream Source Control enables you to manage different versions of the objects you are using in your applications, such as forms, views, pages, and business objects. Before you can use Source Control on your system, you must first have one of the following source control software packages installed:
This chapter describes the following:

A source code control system can do several things for you:
If you are using Microsoft Visual SourceSafe as your source control program, first do the following:
First, you need to make sure you can access the Visual SourceSafe server and database from your machine.
 To access the Visual SourceSafe server and database:
Now you are ready to use SilverStream Source Control. Go to Setting up SilverStream Source Control.
If you have been using SilverStream Source Control with Visual SourceSafe version 5 and have upgraded to Visual SourceSafe version 6, do the following to upgrade your SilverStream Source Control.
To upgrade to SourceSafe version 6:
The dialog containing source control settings displays. The settings should be correct because they are taken from your Visual SourceSafe 5 setup.
Your database is now set up to use source control with Visual SourceSafe 6.
To set up additional databases under source control, see Setting up SilverStream Source Control.
Once you install your source control software on your machine, use the following procedure to set up source control within the SilverStream Designer. You set up Source Control on a per-database basis.
For PVCS, enter:
For ClearCase, enter:
d:\views\myVOB\myDirectory as the view location, SilverStream creates the following directory structure:
  d:\views\myVOB\myDirectory\SilverStream\Forms
  d:\views\myVOB\myDirectory\SilverStream\Media
  d:\views\myVOB\myDirectory\SilverStream\Media\General
  d:\views\myVOB\myDirectory\SilverStream\Media\Images
  d:\views\myVOB\myDirectory\SilverStream\Media\Jars
  d:\views\myVOB\myDirectory\SilverStream\Media\Sounds
  d:\views\myVOB\myDirectory\SilverStream\Objects
  d:\views\myVOB\myDirectory\SilverStream\Pages
  d:\views\myVOB\myDirectory\SilverStream\Views
NOTE ClearCase is case-sensitive. Therefore, make sure the view location you specify uses the correct case. In addition, make sure the path you specify for your SilverStream compile cache uses the correct case.
What happens
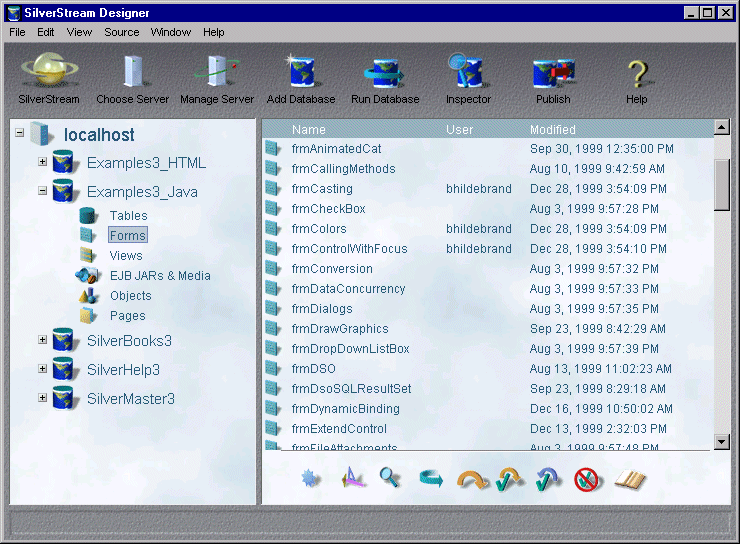
The Designer workspace updates. There is now an SC Status column that indicates whether a file has been checked into or out of the source control system. There is also a User column that shows who has a file checked out.
Also, additional icons appear, which you can use to get files, check files out and in, undo a check out, and look at an object's history.
NOTE You must set up Source Control for each database you add to the SilverStream Designer.
When you activate Source Control on a database within SilverStream, the items contained in that database are not automatically added to Source Control. You can add items (one at a time) to Source Control.
To add an item to Source Control:
What SilverStream does
Source Control creates a SilverStream subdirectory within the project directory you specified when you set up Source Control.
Within the SilverStream subdirectory, Source Control creates individual directories that are named according to the type of item you are adding.
For example, if you are using Microsoft Visual SourceSafe as your source control package and you specify the following as your project directory:
$/Test/Release1
when you add the page candidates.html by checking it in, Source Control creates the following structure in SourceSafe:
$/Test/Release1/SilverStream/Pages/candidates.html
Once an object is under Source Control, only one person at a time can check out that object to update it. However, any number of people can run the object or open the object for viewing (get the object) in the Designer.
When you open an object under Source Control without checking it out, SilverStream creates a copy of the object (you can see that it is a copy by looking at the title bar in the Designer). If you try to save the object, you are prompted to specify a new name.
To check items out of Source Control to edit them:
NOTE Only one person at a time can check a file out.
You can now update the object.
To check items back into Source Control:
The item is checked back into source control and your name is removed from the User column for the object.
To get the most recent version of an item stored in Source Control:
The Get popup menu displays.
NOTE If you specify a label, the label must already exist and have been created using your source control system.
Source Control retrieves copies of the items you specified. Note that you are now working with a copy of the items; the items are not locked in your source control system.
Getting an item from ClearCase
Before you get an item in a snapshot view in ClearCase, you need to update your view in Windows Explorer. If you do not update the view first, you will not get the latest version of the item.
Doing a build after performing a get
Whenever you do a Get from source control, you should use the Build command to compile the code. For more information, see Using the Build command.
To view the history of an item:
The History dialog appears. It contains a listing of each version stored in the source control system.
At any time, you can disconnect a database from Source Control. For example, if you are working on a laptop and taking your machine home, you would disconnect from Source Control before disconnecting from the network.
To remove Source Control from a database:
Are you sure you want to disconnect this database from the source control system?
Once you are back on the network, you can reconnect the database to Source Control, as described in Setting up SilverStream Source Control. Then you can check in your changes.