Requests
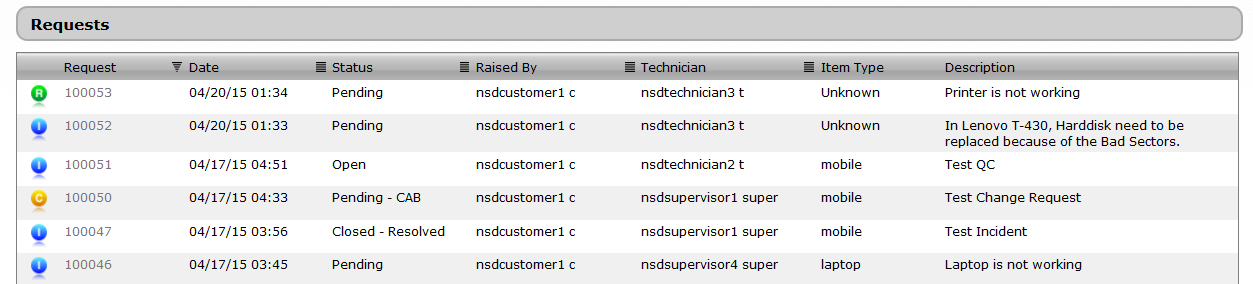
The tab displays all Open and Pending requests. The Requests tab lists all requests logged against Customer Items, regardless of their status. This list also includes all requests that have been closed. Requests within this tab are listed with the most recent request at the top of the list.

The Request page displays:
-
Incidents, service requests, or change requests that the technician might log on behalf of the Customer
-
Requests that the Customer or their Organizational Unit might submit
The Requests tab also displays this information:
-
Open and pending requests that are logged against customer items, regardless of their status
-
Requests that have been closed
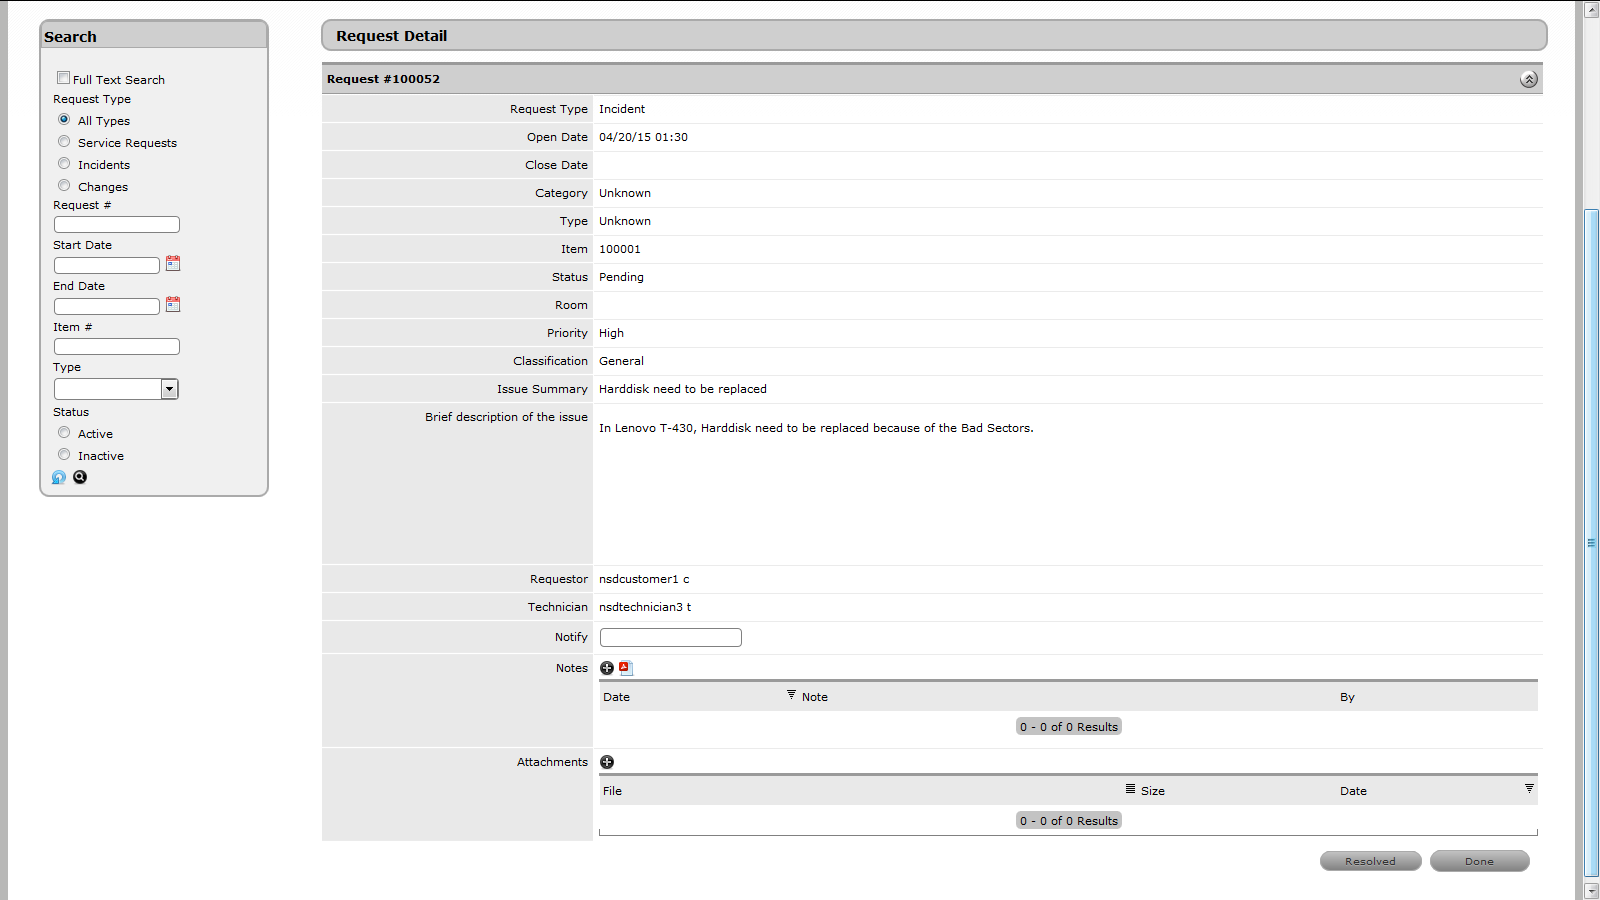
Viewing Request Details
To view the details of a request, click on the request number hyperlink.
The details of the selected request are displayed in a separate screen.
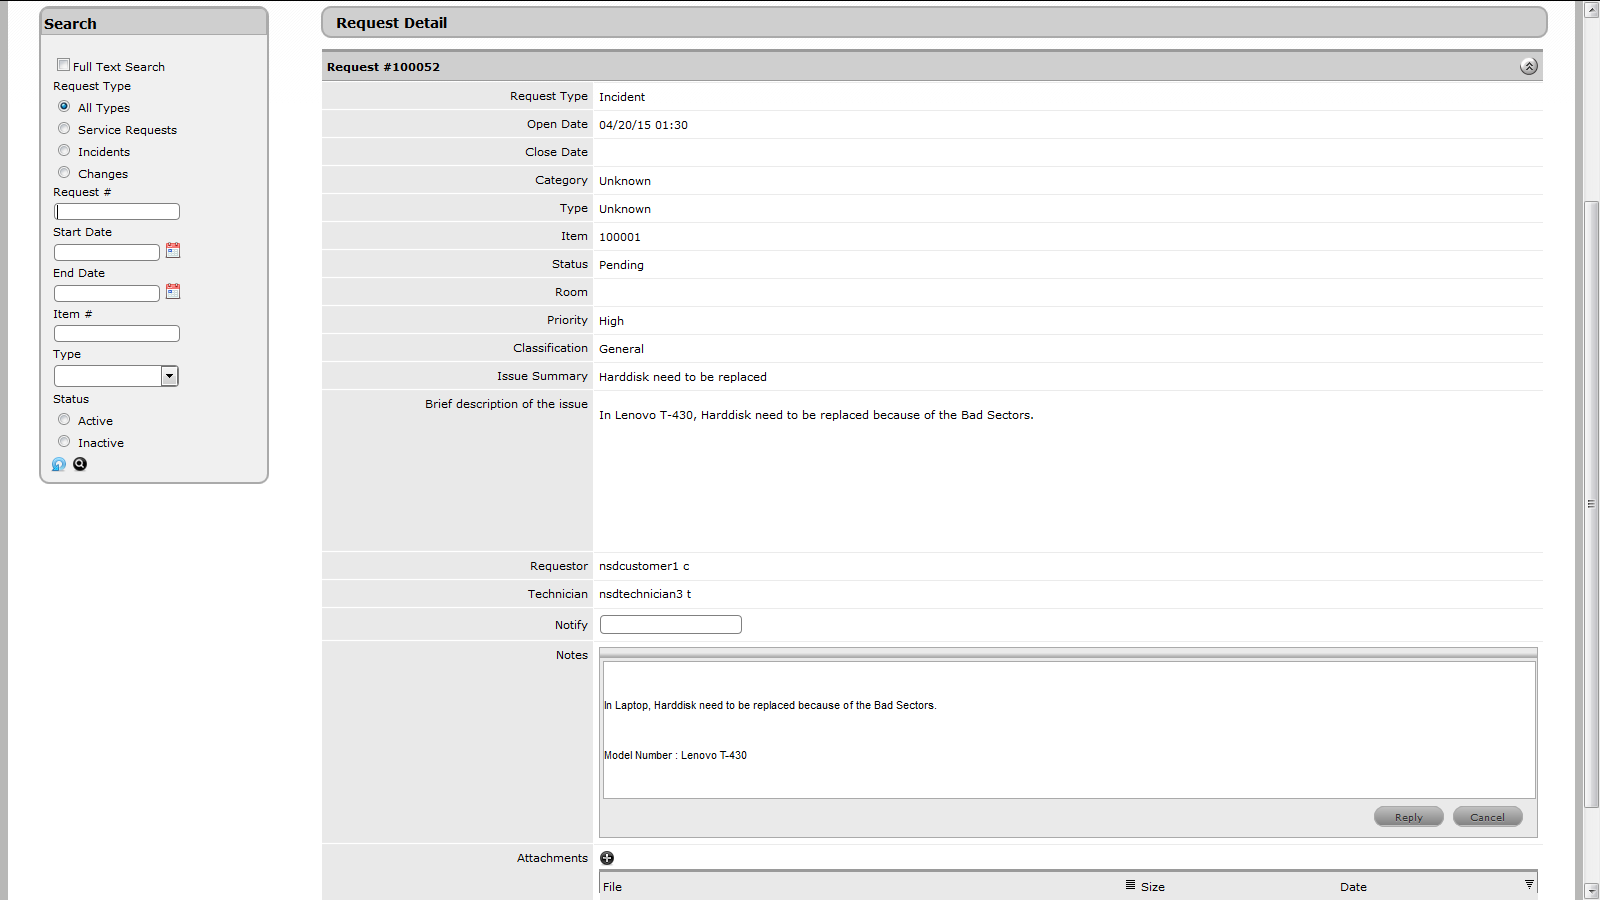
Editing Requests
You can add notes or attachments to requests for which the status is either open or pending. This is possible only if the administrator has granted the customer the rights to view and edit during the Incident, Change, or Service Request process using the tab.
To add request notes or attachments:
-
Click the request number hyperlink to display the request details.
-
Click
 in either the Attachments or Notes field.
-
Add or edit the Notes and Attachments or one of these.
NOTE:The size of an attachment should not exceed100 MB.
-
Update the email address in the Notify field if required.
-
Click .
Viewing Notes
You can view the notes that are created for a request. To view public or customer-created notes:
-
Select Requests tab.
-
Click the request number hyperlink.
-
Click
to view details of all Notes in the Notes pop-up.
-
Click .
-
Click
 to display the contents of all Notes in a pop-up window.

-
Click
 to close the expanded window.

-
To respond to a Note, select the relevant time or date stamp link of a Note.
The request Note screen expands to display the content.
-
Click
 to add the reply content to the Note.
-
Click to send the Note to the Technician.
-
Click to close the Note.
-
Click to return to the Requests list.
 previous
